Dumpster chairs, even. Scott and I were moving out of our apartment and found these wonderful bar chairs just sitting by the dumpster on our way out. There was nothing wrong with them, and they were free. I'll take 'em! That was 7 years ago, and they're still going strong, especially with my latest project.
This was the poor state of them before this week. I bought a yard of home decor weight fabric (love this log cross section fabric!) from IKEA (always measure your surface; I have some extra for a fun project later...), and had some fabric stabilizer and a staple gun standing by.
I started by detaching the seat from the frame and beginning the long task of removing the staples from the fabric.
It was a giant pain in the butt, but with a standard screwdriver and a pair of pliers, I was able to get it done. I kept the seat fabric to measure for the new seat. I ironed the old seat so it would lay flat for measuring and cutting. Now you can REALLY see why this needed to be done. :) Cut around the old seat, and you have your new one! You probably don't have to do this, but I'm kind of anal-retentive and want everything to be perfect so I did a quick blanket stitch around the outside of my new seat fabric to prevent fraying.
Luckily, my old seat's foam padding was just fine so I didn't have to replace that. Now I'm ready to staple the new fabric!
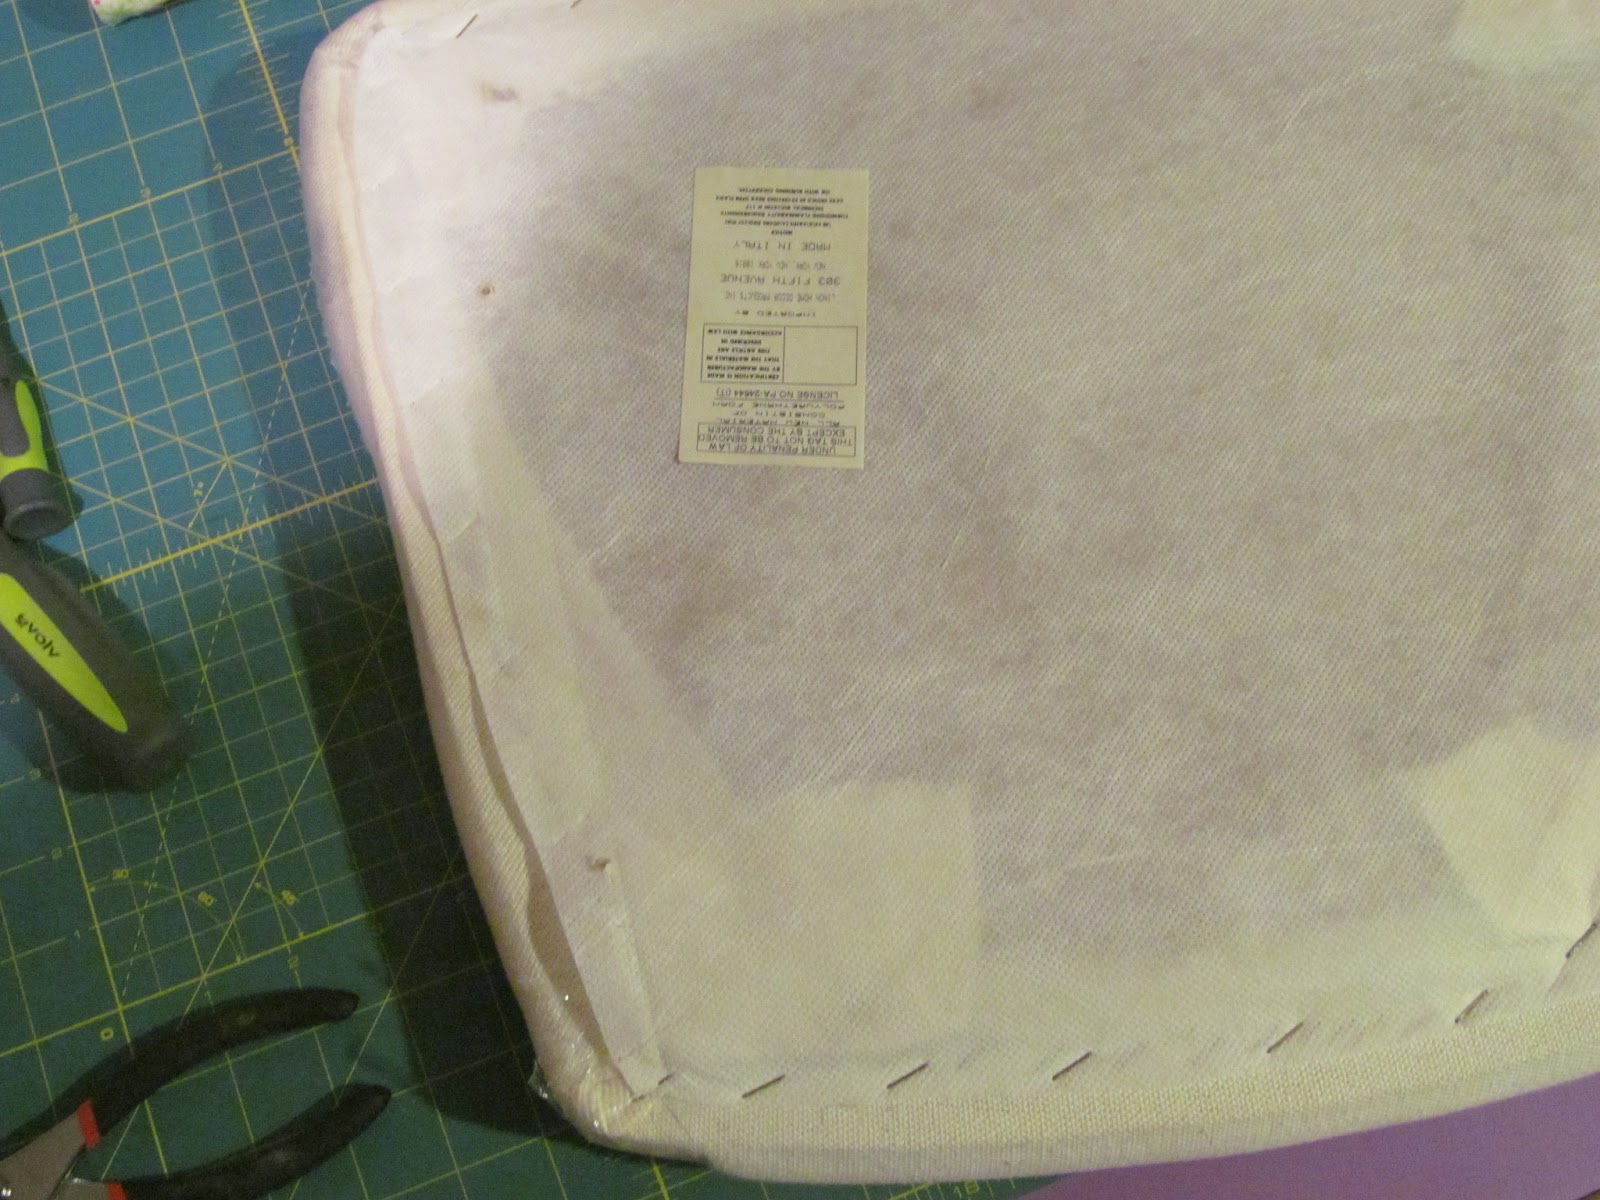
I started at the back of the seat and started stapling from the middle. That way you can work in to the corners and get them the way you want them. I noticed when I was undoing the old seat fabric that there was a sort of plastic stabilizer so I decided to use some fabric stabilizer I had on hand. Just to keep the staples from pulling the fabric. It was around $7.99 for 10 yards, and I already had it. It seemed like a good idea. :)
I tried to work all 4 corners to be as flat as I could manage, and they all had extra stapling. It was more trial and error than anything. I had to take out staples a few times to rewrap. At this point, while you're wrapping, it might also be a good idea to mark the existing screw holes on your fabric so you don't staple them and so you know where they are for reattachment. I didn't mark them, but everything worked out fine.

When I was done wrapping the seat, I realized I didn't get enough fabric for the bottom cover. So... I decided to use the old seat fabric. :) I cut it using the old bottom as a template, and I, of course, had to do a little moving around to get it in a good spot that didn't have holes in it. I also turned it over so the side of the fabric that was facing out before was now to the inside of the seat. I also did a quick blanket stitch around this piece of fabric because it's more important that this one doesn't unravel and look unsightly. Then, staples all around, and voila!
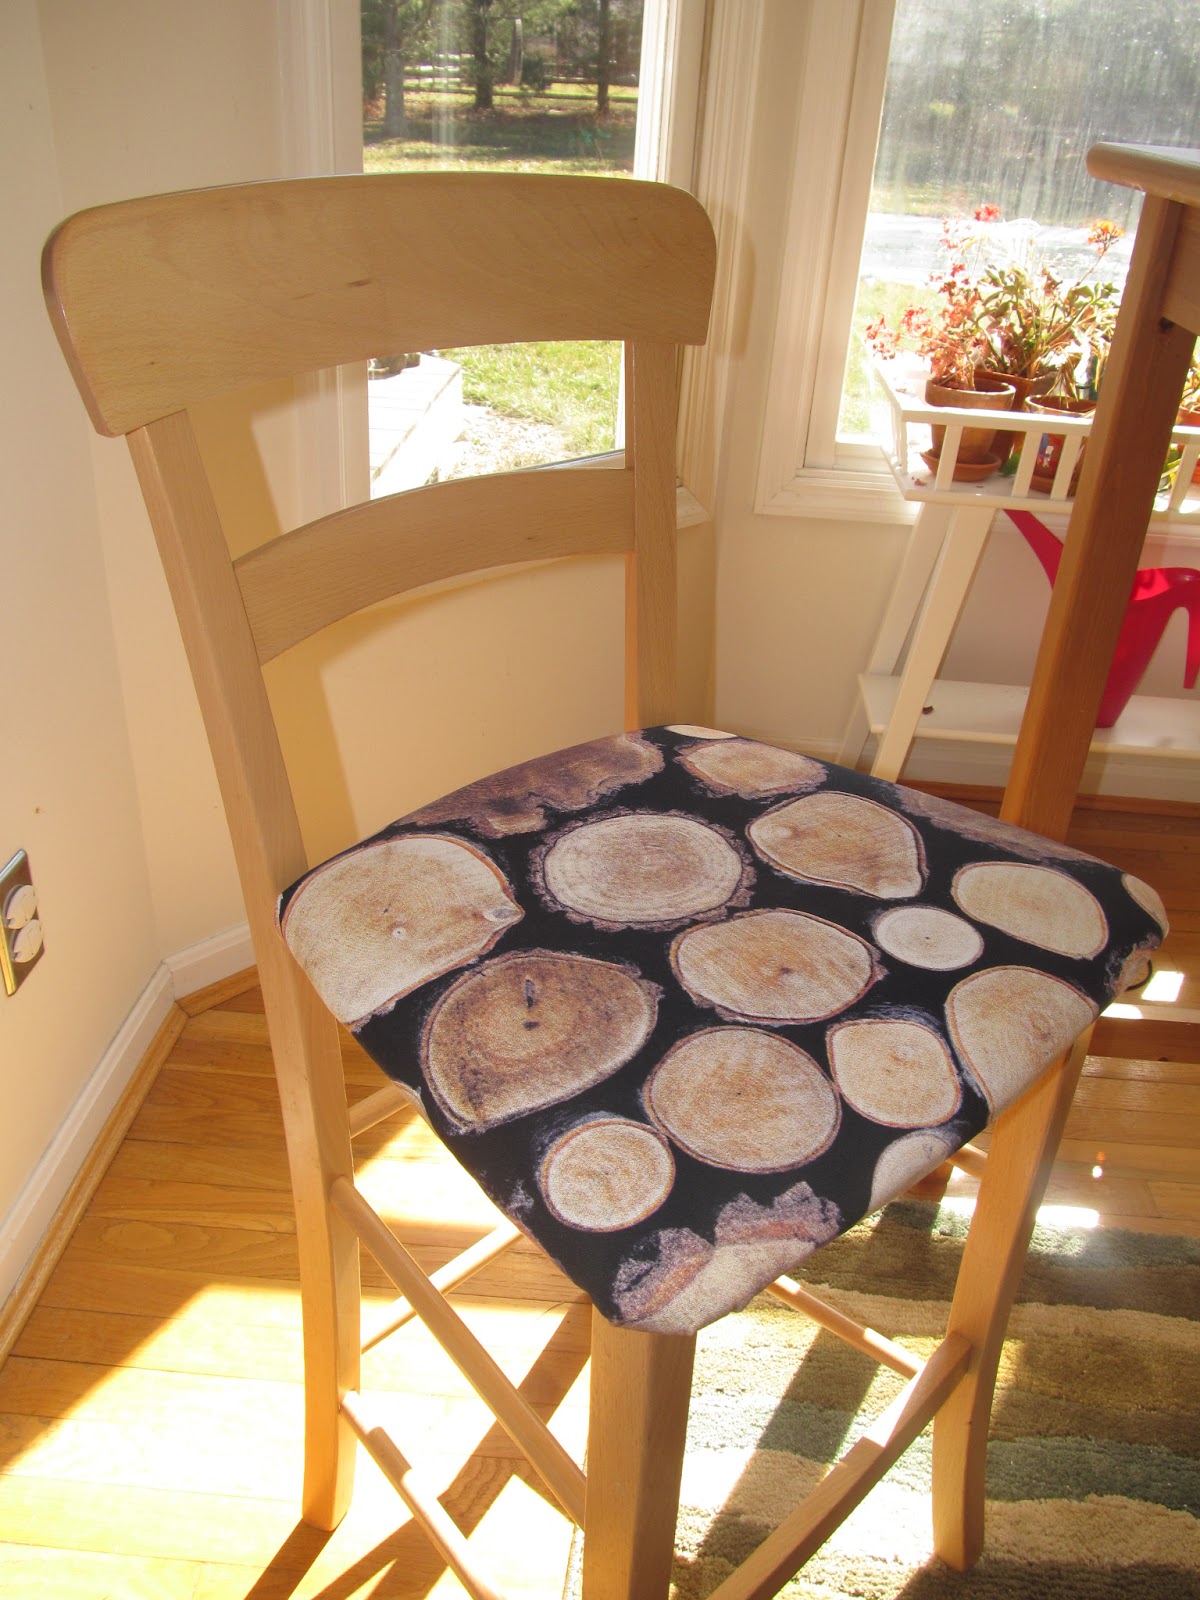
Reattach it to the frame, and you're golden. Now we have our brand new old dumpster chairs. For the cost of free + $7.34 for the fabric, these chairs couldn't have been a better investment. :) Happy Crafting!


No comments:
Post a Comment