
Ironing Board Cover Tutorial
Materials:
* Measure your ironing board to get an idea of how much fabric you'll need. Mine is 56" long so I just got 2 yds.
*1/8" cord
*toggles for the cord
*coordinating thread
*ruler
*water soluble pen
Remember to always wash your fabric before sewing.
1. Remove current board cover and inspect underlayment to make sure it’s still usable. If it’s not, you’ll have to get something to replace it. Mine was foam, and it's fine. Awesome.

2. Lay fabric down on top of your ironing board facedown making sure to leave a few inches around the edge of the fabric. Trace around the ironing board with your marker.
- If you wanted to make a paper pattern that you could use whenever you wanted, you could do that, too. The following steps will be the same, you'll just use paper.

5. Place the fabric right side down. Mark in at ¾”. Mark in and pin/press at ¼”.
6. Pin/press again at the marks you made at ¾”. Yes, you will have some gathers around the corners, but just press them down (hospital corner style) and sew right on top of them.
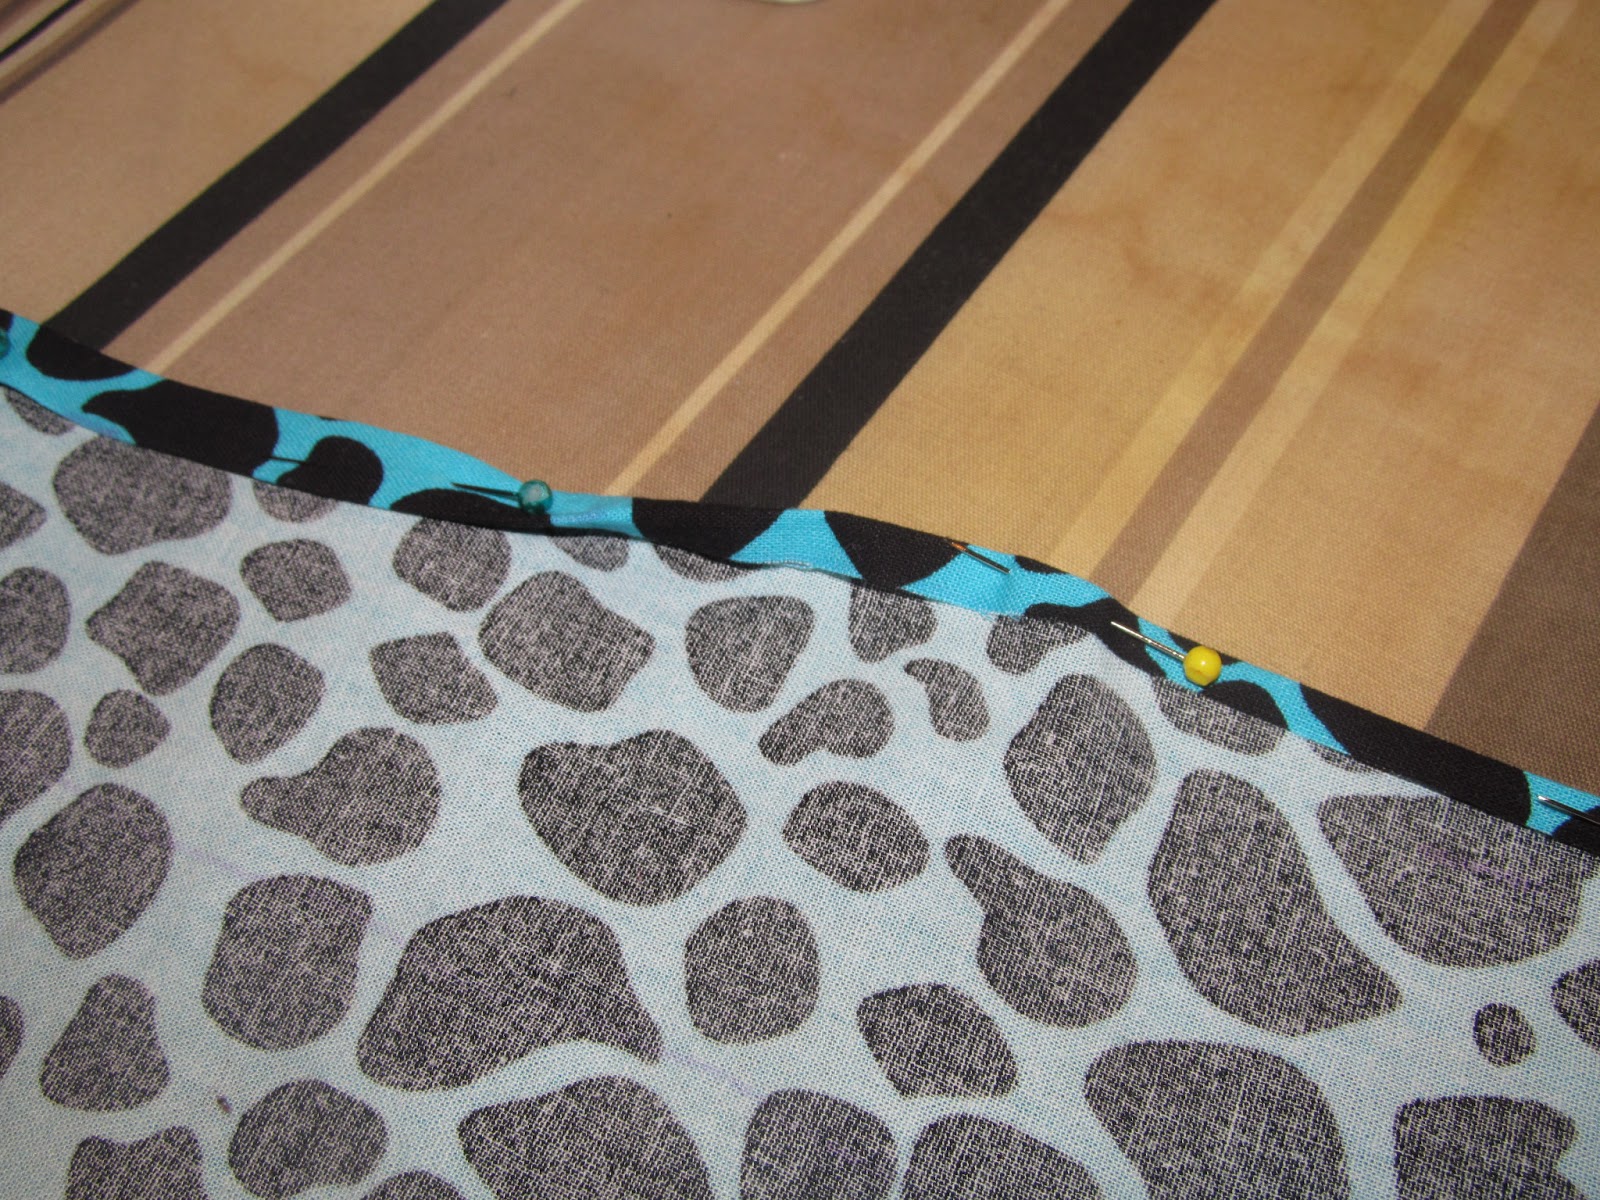
- You can see where I've already pressed and pinned the 1/4" section (on the right side of the photo). Then I went back and folded the fabric again to the 3/4" marks (on the left side of the photo).
8. Sew as close to the inside pressed hem as possible. I always like to press my hems when I'm done so they look nice so you can do that, if you'd like.

10. Put your cover on your ironing board and pull the cord tight making sure the cover surrounds the board on all sides evenly so you don’t have any weird bunches or wrinkles.
11. Thread the toggle on the exposed cord on the end and tighten it to bring the cover very close up around the board.


No comments:
Post a Comment