Showing posts with label home crafting. Show all posts

Monday, January 28, 2013

Update Your Mangy Ironing Board

Okay, so maybe your ironing board cover isn't mangy, but mine certainly was. So I fixed it.
How do these things get so dirty, anyway? I've never ironed anything but clean clothes. Anyway, here's a nice easy, maybe a little dirty, tutorial for you to use when you'd like a little change on the ironing board.

Ironing Board Cover Tutorial

Materials:
* Measure your ironing board to get an idea of how much fabric you'll need.  Mine is 56" long so I just got 2 yds.
*1/8" cord
*toggles for the cord
*coordinating thread
*ruler
*water soluble pen

Remember to always wash your fabric before sewing.

1. Remove current board cover and inspect underlayment to make sure it’s still usable. If it’s not, you’ll have to get something to replace it. Mine was foam, and it's fine. Awesome.

 2.  Lay fabric down on top of your ironing board facedown making sure to leave a few inches around the edge of the fabric. Trace around the ironing board with your marker.
  • If you wanted to make a paper pattern that you could use whenever you wanted, you could do that, too. The following steps will be the same, you'll just use paper.
3. Lay your fabric down again (right side down again) and mark around your traced pattern at 3”. This will give it room to hang down around the ironing board and for you to make your casing for the cord. 
4. You can connect the lines if you want (I did). I know it’s a weird shape, but if you spaced your 3” marks close enough together, it’s just like connecting the dots. Cut out the shape.

5. Place the fabric right side down. Mark in at ¾”. Mark in and pin/press at ¼”.

6. Pin/press again at the marks you made at ¾”. Yes, you will have some gathers around the corners, but just press them down (hospital corner style) and sew right on top of them. 
  • You can see where I've already pressed and pinned the 1/4" section (on the right side of the photo). Then I went back and folded the fabric again to the 3/4" marks (on the left side of the photo).
7. Mark a 1” space at the very point of the pattern for a spot where you can insert the cording. Do not sew this part closed!

8. Sew as close to the inside pressed hem as possible. I always like to press my hems when I'm done so they look nice so you can do that, if you'd like.
9. Attach a safety pin (or elastic threader) to the end of your allotted cord length and thread it through the casing where you left your opening. Make sure you’re threading the cord through the casing entirely. That probably means you’ll have to go back and straighten out the fabric where’s it's bunched up because of the cord going through it. This will make it easier to tighten it at the end.

10. Put your cover on your ironing board and pull the cord tight making sure the cover surrounds the board on all sides evenly so you don’t have any weird bunches or wrinkles.

11. Thread the toggle on the exposed cord on the end and tighten it to bring the cover very close up around the board. 
12. Step back and admire. Maybe have a drink. Mmmm... drinking and sewing...
Everyone needs some teal giraffe print in their lives. Happy Crafting! 

Monday, December 31, 2012

Encouraging Myself to Do the Laundry the First Day...

I have the curse of having a laundry room that is slightly out of the way (it used to be part of the garage), and I don't always hear the beepers when they go off signalling the laundry's done. Oh, yeah, and also I hate doing laundry. So there's that. In any case, it's impossible for me to do one load of laundry in a day, let alone the 3 or 4 or 5 that need to be done. So I made myself something pretty to try to encourage me to do the laundry when it's supposed to get done, as opposed to pulling clean clothes out of the dryer as we need them. :)
I bought myself a little wooden sign from Hobby Lobby and this very cute blue-washed wood-looking paper to decoupage onto the sign. The only problem was when I put the barn wood paper on top of the brand new wooden sign, the visuals didn't quite line up. So then I had to attempt to age the wooden sign. In one night. It's actually not that hard. :) Google has some pretty amazing information hidden away. It's like magic or something. I bought some steel wool and soaked it in about a half cup of white vinegar overnight. Then I brushed it on the wooden sign the next day, and, after 3 coats, voila! Instant aging. :) Maagiccccc...
It took a couple days to air out, but I was really happy with the result. After the decoupage with the barn wood paper, it actually looks like it was a barn wood sign. I added a cute 'launderette' sign, some ribbon and some stamps (I used Staz-On ink as it will literally stamp a permanent image onto anything), and I was mostly good to go. But I wanted something that I could see from the other side of the house that would tell me if I still had clothes in the dryer and I had to get my butt off the couch and go fold them. Enter the miner's coins.
I'm pretty sure we've all seen October Sky (as old as it is for a movie these days), and I've always loved the idea of those miner's coins that indicate which miners went underground for the day. I had some metal tag rings lying around so I found some icons for washer and dryer to hang in the middle of the rings. That way, I'll know if there are clothes in the washer or dryer (or both), and I can see these rings from across the house. You'd be amazed at how quickly I forget things. I need to remind myself of these things occasionally. :) So I just hang the washer coin on the sign when I put clothes in the washer and so on and so forth. I also made a little quickie pocket for the backside of the sign so I can store the coins there and they won't get lost when they're not in use.
I know it's not the prettiest thing you've ever seen, but it's the back of the sign, for Pete's sake. I also did some stamp testing there. No one's going to see it. :) So now I have this cute little sign that will tell me when to do the laundry. At least I'm pretty sure my husband's hoping his days of pulling clean clothes out of the dryer are over. :) Happy New Year!


Thursday, August 2, 2012

The Perfect Pillow

In the recent very long search to find the perfect back support pillow for Baby 2.0's new green glider, of course, we found nothing we liked. I'm sure you've noticed this happens a lot. I did, however, find the perfect fabric at Hancock Fabrics. So I went for it! This is probably one of the easiest projects you will ever take on if you ever need a nice decorative (or fully functional) pillow for a certain space.
It goes along with our color scheme perfectly (grey, blue, lime green and pink), and we were able to get just the right size pillow form. So I did get the pillow form, I got a yard of this gorgeous fabric (in case I wanted to make other things with it), some 7/8" wide black satin ribbon and a couple buttons for the envelope closure at the back of the pillow. Easy peasy.

I cut the fabric to fit the form so the finished size was exactly the size of the pillow, in this case 12" x 16". The hardest part was definitely working that satin ribbon around the edges. I wanted something to break up the front and the back of the pillow, but I have never done piping or anything like that. I took the cheater's way out, and I folded the satin ribbon in half and sewed it right to the pillow cover. It was a bit tricky, but I LOVE the way it turned out.
Adding the buttonholes, and consequently the buttons, was the finishing touch on this lovely addition to the nursery. I chose some giant buttons so they were more of the design of the pillow as opposed to just being functional. They look good, too. :)
And voila! You have a beautiful personalized back support (or decorative, if that's your thing) pillow that you have created yourself. Not to mention it took all of a couple hours to finish this project. I love quick projects! Happy Crafting!


Sunday, July 22, 2012

Cornering the Market on Cheap Artwork

Apparently, I've gotten really picky in my home decor as I can't seem to find anything out there in this large mass-produced world that I like. I see things on etsy all the time that I like, but then it comes down to how much do I want to spend. I'm not necessarily saying I'm cheap, but, sometimes, those sellers are asking a LOT.

I recently found a saying I really like, and I couldn't find it just the way I wanted it. So I made my own. It didn't take any time at all as I was able to use an open source image editing program (GIMP 2) that's pert near Photoshop and some clip art. I also utilized one of my other favorite tools, 1001freefonts.com. I use this font website ALL THE TIME. They have the greatest typefaces, and the one I chose for this project was Sybil Green. I got the funky frame at Hobby Lobby for $7 since they were on sale for 50% off.
I put this in our kitchen since it's (our kitchen) severely lacking in personality. It has these weird soffits that hold these frames really well. I made these prints to fit in a 5" x 7" frame and printed them on high quality cardstock.

After putting this one up, there's another empty weird soffit right across the way from it. So I had to come up with another cute little saying. We drink a LOT of tea in our house, and it's kind of a religion so I came up with, "I Love You More than Tea" and added some cute clip art to go along with that.
I used all the same tools to make this one, the frames were still on sale at Hobby Lobby, and I'm sure it took a grand total of about 20 minutes in front of my computer to make these. And they're very personal to our family. If you see a cute little saying you like somewhere, don't be afraid to make your very own typographic artwork. Happy Crafting!

Monday, June 18, 2012

Easy Peasy Valance for Dummies

I don't mean to offend anyone with this title. This just perfectly describes my relationship with sewing and making pretty things quickly and easily. I get bored pretty quickly so it's best if I can make something nice very easily. It has also struck me that this is my first tutorial. Yay! I'm very excited, and I'm sure something will go wrong, but this is a good one to start with. Again, easy.

So our house has these ugly, old, dirty venetian blinds that we never use in certain windows, e.g. our kitchen window above the sink (a). They're the windows that we never cover because they let in awesome light during the day. I tried taking down those ugly venetian blinds and found that underneath them it was even uglier (b). So I had to come up with something to cover them up because there was NO WAY I was going to continue looking at those stupid, ugly venetian blinds just because it was uglier to remove them.


Easy Peasy Valance for Dummies

fabric cut to window (width inside trim + 2in) and (desired height + 4in)
coordinating sewing thread
1" x 2" batten (cut to finished width of window)
(2) 1-1/2" L brackets
staple gun
power drill
tape measure (not pictured)
1.) The first thing I did was cut my fabric to the appropriate size. I added 2 inches to the width and 4 inches to the height. I found it was helpful to label the top and bottom of my fabric so I didn't get confused later. Trust me, it happens.

2.) Stitch a zigzag stitch (or serge, if your machine does that) all the way around the piece to lock in the threads.

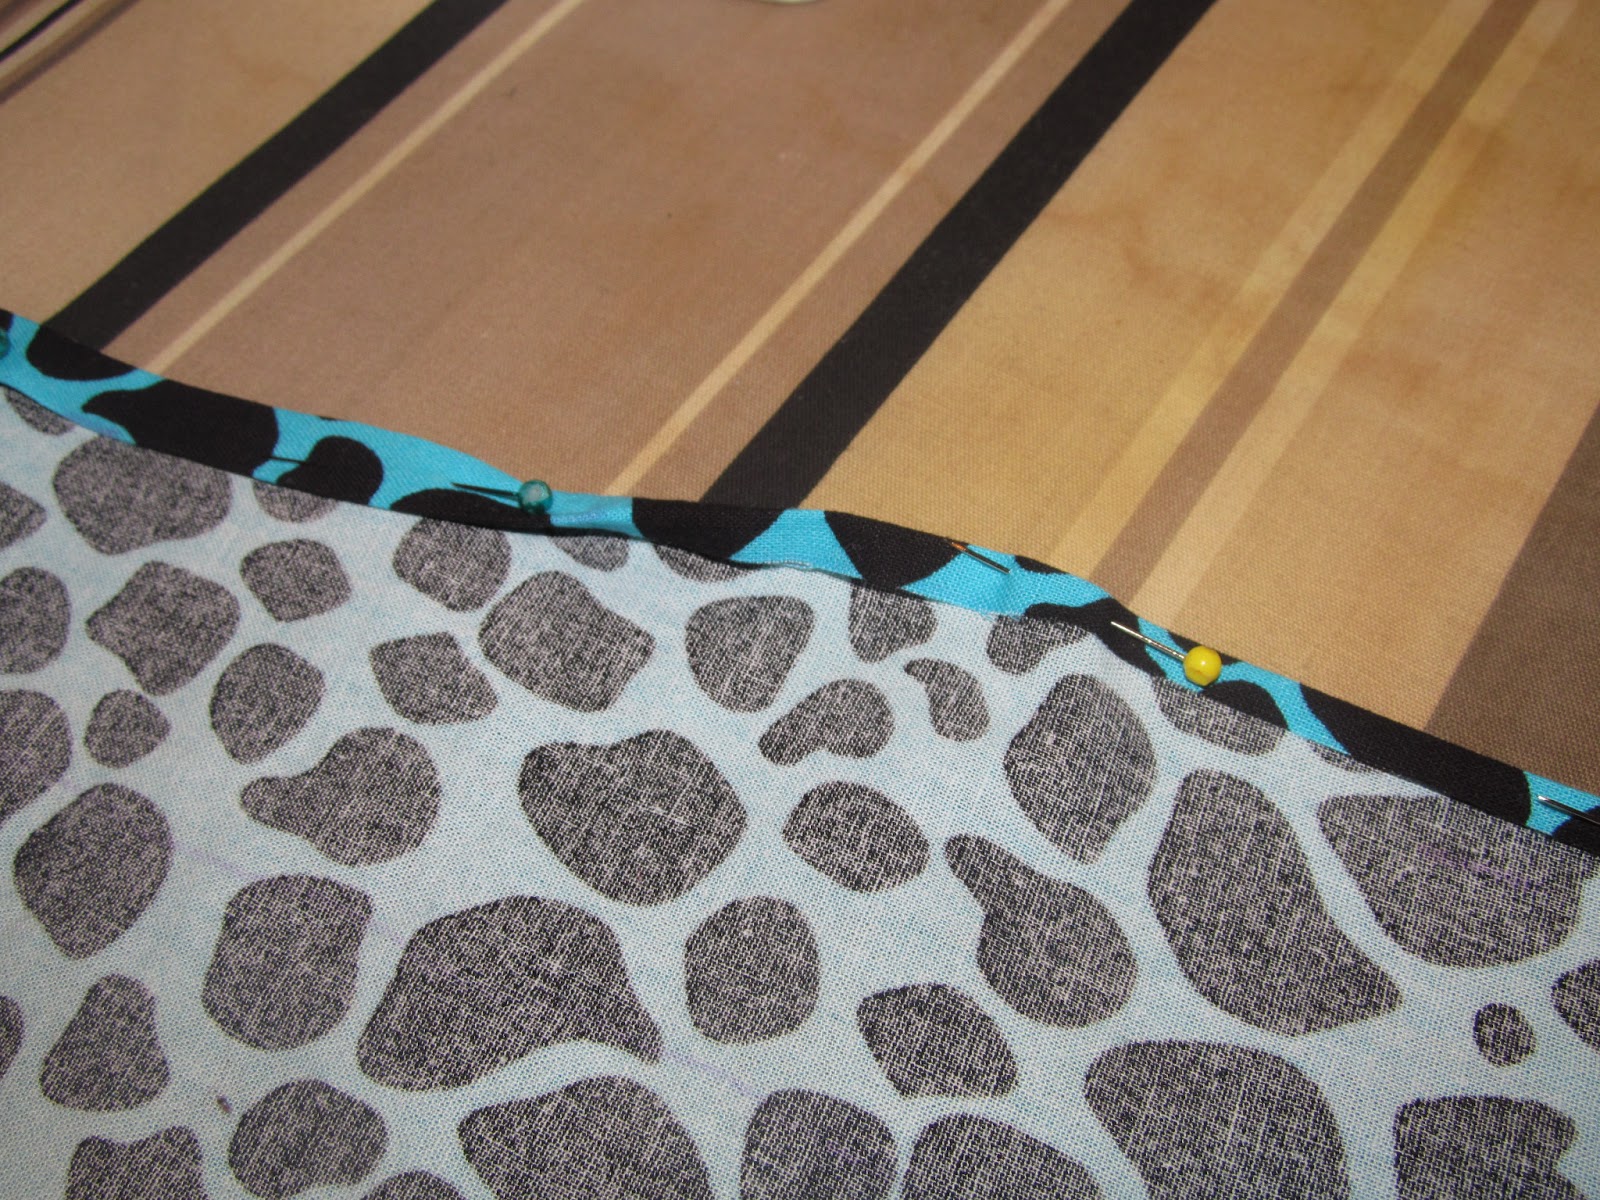
3.) Fold and pin both the left and right sides of your fabric in 1 inch on the wrong side. Sew a 3/4 inch seam allowance in a coordinating thread color.

4.) Fold and pin the bottom of your fabric in 1 inch on the wrong side. Sew a 3/4 inch seam allowance in a coordinating color.

And you're done sewing! Wasn't that easy? Now we're going to work on hanging and installing your valance.

5.) Cut your batten down to size. I like to make it about 1/4 inch shorter than the width of my finished valance just so it tucks inside the fabric nicely.

6.) Lay the batten down (with the 2 inch surface down) on a secure surface. Align your completed valance right side up on top of the upward-facing 2 inch surface of the batten (a). Ensure the edges are lined up evenly with the edges of your batten and the top edge of the valance is even with the top edge of the batten. Staple your valance to the batten (b).

7.) Fold your valance over the batten so you are looking at a finished valance with the staples in the back. Lay the valance assembly right side down and measure about 5 inches in from each side of the batten to screw in your L brackets for installation. I always make sure the top of the L brackets go above the batten just a bit so there's extra room for installing it to the inside of the window trim.

8.) Now all that's left to do is install your valance inside your window trim and make sure it's level and even. Or at least as level and even as you want it. :) Just a side note: you CANNOT see the wooden batten from the outside. I checked.


And you're done! Now you can (and should) admire your beautiful handiwork.

Here's another one I did in our breakfast nook. The sunlight's amazing in there, and we NEVER put the curtains (or the blinds previously) down. I also made roman shades out of this same fabric for the other 2 windows in the breakfast nook, but that's a whole different can of worms and a subject for a later date. Happy Crafting!